
Extending your India travel visa is essential if you plan to stay longer than initially intended. Whether you’re captivated by the country’s rich culture, exploring its vast landscapes, or just need more time, understanding the process of visa extension is key. The procedure involves verifying eligibility, preparing necessary documents, and following official steps, which vary depending on your visa type. Being well prepared helps ensure a smooth and hassle-free process.
In India, visa extensions are handled by the Foreigners Regional Registration Office (FRRO) or Indian embassies. Different visa types, such as tourist, business, or medical visas, have specific requirements for extensions. Knowing the right procedure ahead of time will help you avoid overstaying penalties and enjoy a seamless travel experience in India.
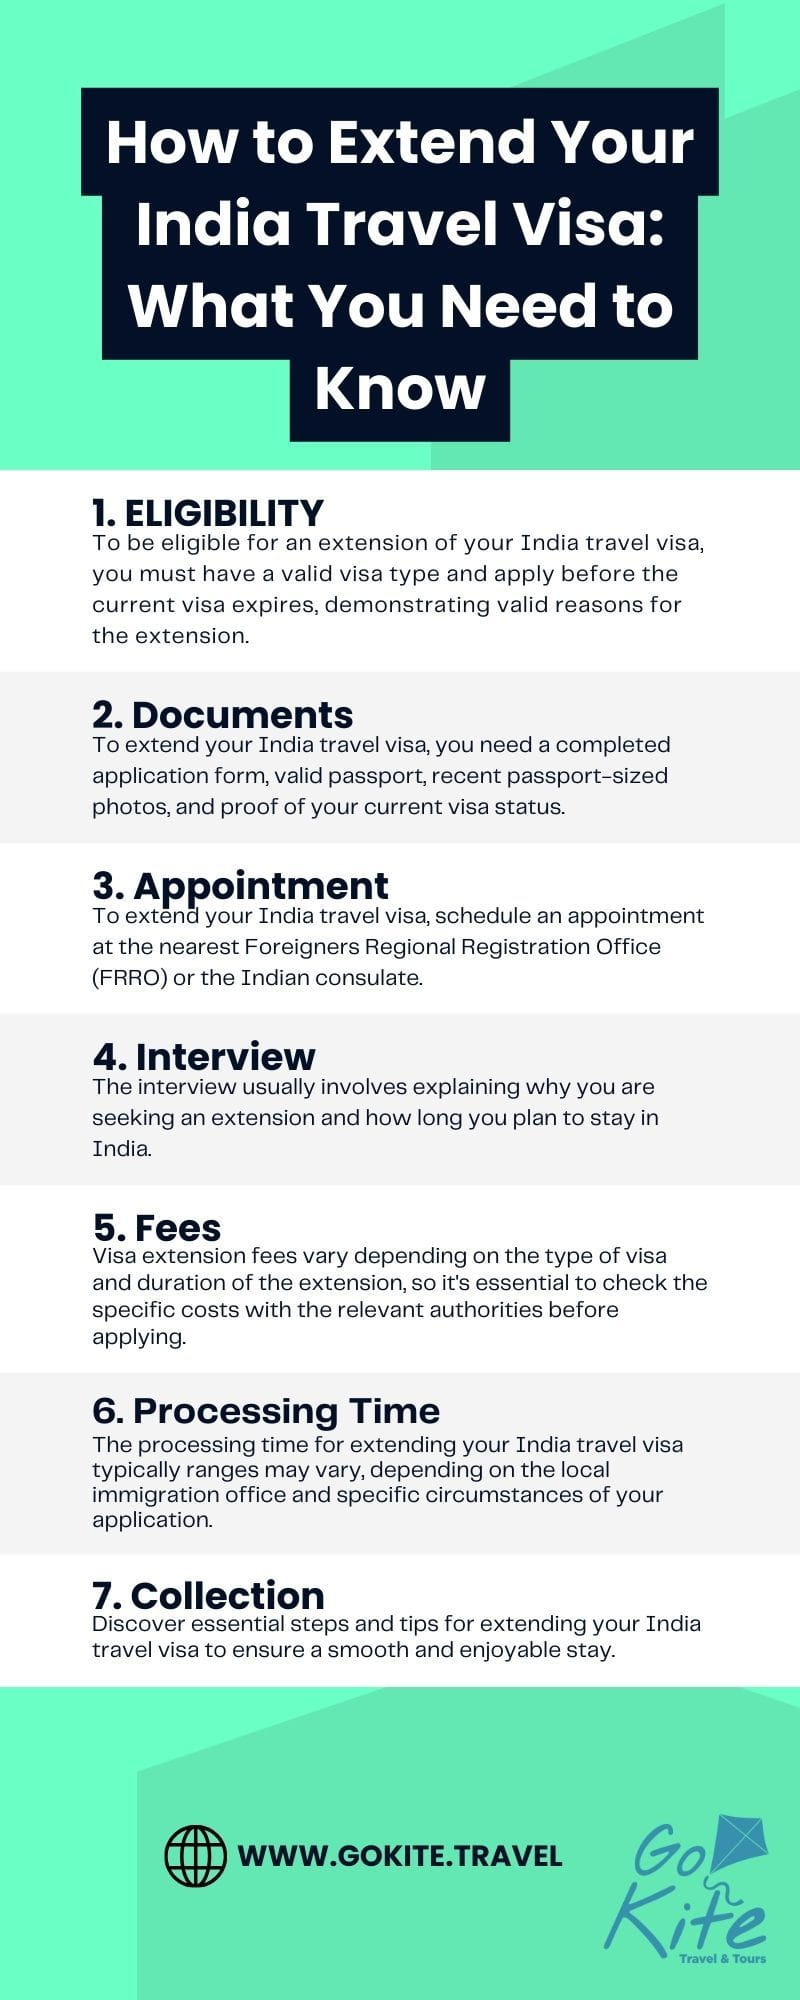
Here are some How to Extend Your India Travel Visa
1. Eligibility: Before starting the process of extending your India visa, it’s crucial to check if you’re eligible for an extension. Not all visa types can be extended, and the eligibility criteria vary depending on your nationality and the type of visa you hold. You can find this information on the official website of the Indian embassy or consulate. Generally, tourist visas can be extended once for a limited period, but certain other visas, like e-visas, may not be eligible for renewal. Be sure to review your specific visa type and its conditions to avoid unnecessary delays.
2. Documents: Once you’ve confirmed your eligibility, the next step is to gather all the necessary documents for your visa extension application. The essential documents typically include your current passport, your existing visa, and a completed visa extension application form. Additionally, you may need to submit proof of your travel plans, such as hotel reservations, flight bookings, or an itinerary. Some applicants may also need to provide supporting documents that explain their reason for the extension, like medical certificates if the extension is due to health reasons. Having all these documents prepared will ensure a smoother and faster application process.
3. Appointment: After gathering your documents, you will need to schedule an appointment with the Foreigners Regional Registration Office (FRRO) or the Indian embassy or consulate. Some FRRO offices allow walk-in applications, but it is always better to book an appointment in advance to avoid long waiting times. The online system also makes it easier to track the status of your application. In some cities, like Delhi and Mumbai, the FRRO offices can be busy, so it’s advisable to book early and arrive at the office with all required paperwork.
4. Interview: In some cases, you may be required to attend an interview as part of the visa extension process. The interview usually involves explaining why you are seeking an extension and how long you plan to stay in India. This is often a routine step, especially for tourist visas, but it’s important to be honest and clear about your intentions. The interviewer may ask for additional documentation to support your request, such as proof of funds to sustain your extended stay or an invitation letter if you’re staying with someone in India. Keep in mind that not all applicants will be asked to interview, as this requirement depends on the individual case.
5. Fees: Visa extension fees vary depending on several factors, including your nationality, visa type, and the length of your requested extension. The fees for a tourist visa extension are generally moderate, but other visa types, like business or medical visas, may have different fee structures. It’s important to check the exact amount on the official FRRO website or embassy page, as the fees may change periodically. Be prepared to pay the fee online or in person during your appointment. Keep a copy of your payment receipt for future reference.
6. Processing Time: The processing time for a visa extension can vary greatly depending on your location and the type of visa you are renewing. It typically takes anywhere from a few days to several weeks, so it’s important to plan accordingly. During this time, it’s essential to avoid any travel outside of India, as your visa status will be under review. To avoid overstaying your visa, apply for an extension well in advance of your visa’s expiration date. Some FRRO offices offer expedited services for an additional fee, but this is not guaranteed and depends on the workload of the office.
7. Collection: Once your visa extension application is approved, you will receive a notification to collect your new visa. In most cases, you will need to return to the FRRO office or embassy to pick up your updated visa. Make sure to check the collection procedure, as some offices may offer the option to mail your extended visa to your residence. It’s crucial to double-check all the information on your new visa to ensure there are no mistakes, such as incorrect dates or spelling errors. Once you have your extended visa, you’re free to continue enjoying your stay in India.
Conclusion
Extending your India visa can be a smooth process if you follow the necessary steps and ensure that all required documents are in order. From checking your eligibility to scheduling an appointment at the FRRO or embassy, preparation is key to avoiding delays. Make sure to gather your passport, current visa, and any supporting documents to strengthen your application for the extension.
It’s important to keep track of deadlines and fees to ensure you don’t overstay your visa. The processing time for your India Visa extension may vary, so plan ahead and apply early. Once approved, you’ll be notified to collect your updated visa, allowing you to continue your journey without any legal concerns.
Do Also Check Out:


